Showing posts with label tutorial. Show all posts

Wednesday, January 25, 2012

Purple, purple and more purple + Tutorial

Yea, its purple manicure time. I did these 2 nights ago and they're still chip free. Hence why I didnt post a new mani last night. Check out these purdy mamas with tutorial to follow.


For this manicure, grab a light base color.

Then add a sparkly tip in a darker but same color glitter.
I chose Color Club Tru Passion.

Then with an even darker shade in the same color, draw a stripe across the bottom of your glitter edge.
I chose Love & Beauty Dark Purple.

Then with that same darkest color, draw 45 degree angled stripes. I did 2 on each finger except for my middle finger as that is the accent nail.

Then take a silver glitter and go between your dark stripes. I also added a stripe below the purple one on the accent nail.
Here i chose Kiss nail art paint in silver.

Then I added a light purple fimo bow on the accent nail along with a clear rhinestone on its center.
Then a light purple and clear rhinestone on every other nail.
Chose two color rhinestones that match what colors you chose.

Top coat and you're done!

Doesn't this look like it belongs in a glue on box in the stores? I LOVE it!

Saturday, December 17, 2011

Dangler Time + Tutorial

I finally broke down and bought a wheel of simple nail danglers which came with a free tool.
The wheel came with 12 different slots of colors. About 10 rings in each slot. So 120 danglers total.


Please excuse the few blurry pics. My camera didn't want to pick them up even on marco :-s


 This is the tool. Twist off the end (this one was Righty Loosey, not lefty loosey, go figure. Took me a good 5 minutes to figure that out) and it reveals this small sharp drill bit.

** TUTORIAL **
*Place your finger underside up on a flat surface
 *I placed my hole toward the outer edge, some place it right in the middle (center)
*Place drill bit on backside of nail and slowly twist
*In just a few twists, you'll have a hole
*The rings have a cut in them

 *slightly bend it apart with tweezers or flat nose pliers
(i used both)

 *place one end through the hole on your nail
*Squeeze ring back together
*ALL DONE!


It's not bugging me like I thought it would.
I really kind of like it. Once I get used to it, I'll add a charm to it.

Sunday, December 11, 2011

Red Nose Reindeer - Tutorial

Yep, that's Rudolph! 
Tonight's manicure shows off just that. Was pretty fun.
My inspiration came from Simply Rins.
This is also my first tutorial.
It's picture tutorials because I have no clue how to video edit. So without further delay...

The final result:

The products I used:
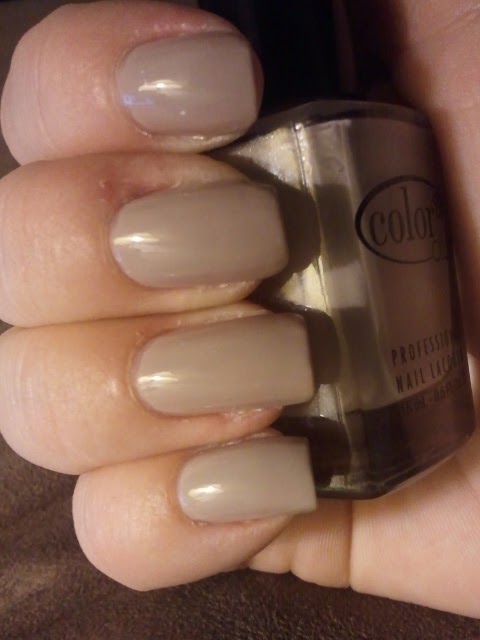
*Base coat - Color Club Nomadic in Nude
*Head - Color Club Earthy Angel
*Eyes & Nose - Wet N Wild white, Kiss art paint in black
*Antlers - OPI Suzi Loves Cowboys
*Cheeks - Avon Pink Power
*Rudolph antlers - OPI Suzi Loves Cowboys + Princess Collection #2043
*Rudolph nose - Color Club Art of Seduction + Bundle Monster red rhinestones

Here we go with the tutorial!

-Apply base coat (I use Rimmel London Base Coat/Top Coat Pro)
-Add color base (I used CC Nomadic in Nude)

Paint a half moon shape for head (I used CC Earthy Angel).


Add ears using a small paint brush...

Next I added antlers using OPI Suzi Loves Cowboys using that same small paint brush.

Then their cute button noses (I used SH nail art paint in black).
After that dried, I applied Princess Collection #2043 to Rudolph's antlers. 
It's a gorgeous gold, red and green glitter.

Don't forget Rudolph. I applied CC Art Of Seduction first then the rhinestone.

Now its time for some eyes...
I used a small end of a dotting tool to make these a little oval.
While you've got the white out, add a SMALL dot on the edge of the black 
noses to give the illusion of depth and shine.

Using a dotting tool and a light pink, add cheeks.
Then add small black dots to the white part of the eyes for pupils.
Add your top coat and you're done!

More pictures:


Here is a good shot of his sparkly antlers. Cuz he's just cooler than the rest...


Related Posts Plugin for WordPress, Blogger...